 When I started my Test Automation journey I started Selenium with Java and then I also explored Selenium with Python and with C# as well. Before we start Install Selenium Webdriver With C# let us discuss few things about what is Selenium and C# and few more points
What is Selenium
Selenium is a portable software testing suite for web applications. Primarily, it is for automating web applications for testing purpose, but it certainly not limited to just that. Selenium is open source. Selenium is highly flexible. There are many ways you can add functionality to both Selenium test scripts and Selenium’s framework to customize your test automation i.e. We can modify the built-in selenium functions based on our requirement. This is perhaps Selenium’s greatest strength when compared with other automation tools. Selenium is a set of different software tools each with a different approach to supporting test automation. It has 4 components.- Selenium Integrated Development Environment (IDE).
- Selenium Remote Control (RC).
- Selenium WebDriver.
- Selenium Grid.
What is C#
C# is a general Object-Oriented Programming (OOP) language for networking and Web development. C# is specified as a Common Language Infrastructure (CLI) language. C# is highly expressive, yet it is also simple and easy to learn. C# syntax simplifies many complexities of C++. For more detailed information of C# please refer following links- Differences between Selenium with C# and Selenium with Java?
| Selenium with Java | Selenium with C# |
| In Selenium with Java we have WebDriver to create web browser instance. | In Selenium with C# we have IWebDriver to create web browser instance. |
| In Selenium with Java we use WebElement to find out web elements in the application. | In Selenium with C# we use IWebElement to find out web elements in the application. |
| In Selenium with Java we use @FindBy annotation is used in Page Objects in Selenium tests to specify the object location strategy for a WebElement or a list of WebElements. | In Selenium with C# we use [FindBy] annotation is used in Page Objects in Selenium tests to specify the object location strategy for a WebElement or a list of WebElements. |
IDE used for C#
C# development can be done using many IDEs like Visual Studio, MonoDevelop, #develop, Rider and Many more. In this tutorial we will develop C# in Visual Studio.How to Install Visual Studio in windows?
Let’s download and install visual studio in following steps. Step 1: Download the latest Visual Studio from the following link https://www.visualstudio.com/downloads/. Its preferable to download Visual Studio Community 2017 or Visual Studio Professional 2017 (30days free trail).
Step 2: Once its downloaded, click on the executable(.exe) file.
Its preferable to download Visual Studio Community 2017 or Visual Studio Professional 2017 (30days free trail).
Step 2: Once its downloaded, click on the executable(.exe) file.
 Step 3: Next, click on continue.
 Step 4: Visual Studio will start downloading the initial files.
 Step 5: In next screen, click on install.
 Step 6: In next screen select .NET desktop development and click on install.
 Step 7: Visual Studio will download .NET desktop development related files.
 Step 8: Once download is completed. It will ask for Reboot.
 Step 9: After Reboot Open Visual Studio
. It will ask for sign in or sign up. If you Microsoft account sign in else click on Not now, may be later link.
Step 9: After Reboot Open Visual Studio
. It will ask for sign in or sign up. If you Microsoft account sign in else click on Not now, may be later link.
 Step 10: In next screen, Select General from dropbox and select the color theme of your choice and click on Start Visual Studio button.
 Step 11: Visual Studio is ready to use. You can now create C# Project by clicking on new Project and by giving name to it.

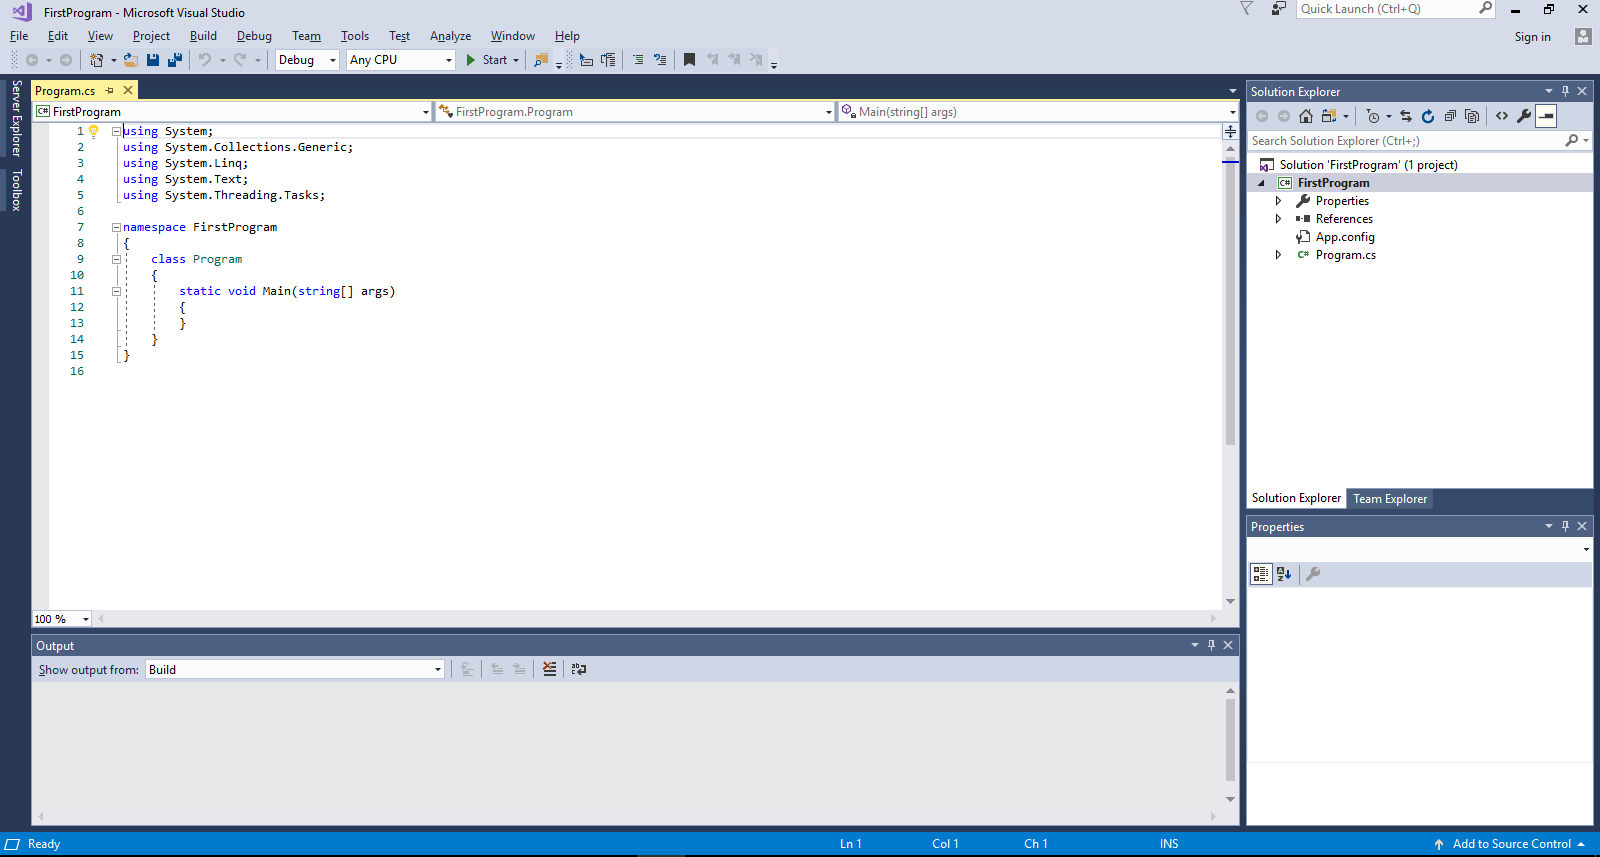
Install Selenium Webdriver With C#
Let’s see how to write “Hello World!!” Program in C#. Step 1: Launch Visual Studio. Start->Visual Studio ->click. It will launch Visual Studio. Step 2: Click on File-> New -> Project. Step 3: Next screen
 1.Give project name.
2.Select the folder where you want project to be saved.
3.Click on OK button.
Project will be created with name HelloWorld.
Step 4: After creation of project screen looks like below
1.Give project name.
2.Select the folder where you want project to be saved.
3.Click on OK button.
Project will be created with name HelloWorld.
Step 4: After creation of project screen looks like below
 Keywords:
- using – using keyword is used to include namespace in the program.
- namespace – namespace is a collection of classes. HelloWorld namespace contains the class Program.
- class – class contains different data and method definitions.
- Main – Main method is an entry point for C# programs. Execution starts from Main method.
 Console.WriteLine() is used to print message in console.
Save the program and press F5 to execute the program. A command prompt window will appear that contains the line Hello Word!!
The execution of the program will be too fast. To see console output Debug-> Start Without Debugging or Ctrl+F5.
Output Screen will be like below.
Console.WriteLine() is used to print message in console.
Save the program and press F5 to execute the program. A command prompt window will appear that contains the line Hello Word!!
The execution of the program will be too fast. To see console output Debug-> Start Without Debugging or Ctrl+F5.
Output Screen will be like below.

How to Install Selenium to Visual Studio?
There are two ways of installing Selenium to Visual Studio.- Downloading Selenium libraries from seleniumhq.org.
- Downloading Selenium via NuGet Package Manager.
 Step 2: Navigate to Tools-> NuGet Package Manager-> Manager NuGet Packages for Solution…
 Step 3: In next screen

- Select Browse tab.
- Enter Selenium in search field.
- Selenium latest Selenium.WebDriver available.
- Select the project created in step 1(i.e FirstProgram)
- Click on Install.
 Step 5: Once WebDriver is installed. We should get following message.
 Step 6: Once WebDriver is installed let’s install ChromeDriver.
Tools-> NuGet Package Manager-> Manager NuGet Packages for Solution…
Step 6: Once WebDriver is installed let’s install ChromeDriver.
Tools-> NuGet Package Manager-> Manager NuGet Packages for Solution…

- Enter ChromeDriver in search field.
- Select the ChromeDriver.
- Select the project created.
- Click on Install.
 In Next screen click on OK button.
 Once ChromeDriver is installed. We will get the following message.
 Step 7: Selenium is installed to FirstProgram. Now let’s write code to perform goggle search.
Code Explanation.
Step 7: Selenium is installed to FirstProgram. Now let’s write code to perform goggle search.
Code Explanation.
            // Create a driver instance for chromedriver
            IWebDriver driver = new ChromeDriver();

            //Navigate to google page
            driver.Navigate().GoToUrl("http:www.google.com");

            //Maximize the window
            driver.Manage().Window.Maximize();

            //Find the Search text box using xpath
            IWebElement element = driver.FindElement(By.XPath("//*[@title='Search']"));

            //Enter some text in search text box
            element.SendKeys("learn-automation");

            //Close the browser
            driver.Close();
 Navigate to Start button on the top and click on it. It will launch console 1st and after few seconds it will launch ChromeDriver and will perform action mentioned in the code.
 We will get output as shown below.

Thanks, It’s really a very well documented each and every steps.
Any clue for Lambda automation using c#, please.
Hi Sonal, Thank you so much. C# I stopped from long time. You can check executeautomation.com for Selenium with C#.
Hi,
Maybe I am doing something wrong, but my test fail with Message:
► System.InvalidOperationException : session not created: This version of ChromeDriver only supports Chrome version 85 (SessionNotCreated)
I cannot understand where I have to set up my Chrome version
Hi Myroslav, please update chromedriver because current Chrome version is 99 and coming version is 100 so we need compatible drivers for the same.
Hi Mukesh,
First of all Thanks a lot for the step-by-step explanation. It helped me.
I tried the same way but was unable to fix the issue “System.InvalidOperationException : session not created: This version of ChromeDriver only supports Chrome version 85 (SessionNotCreated)”
the current version of Google is 103, could you please check again and help.
Regards,
Madhu
Hi Madhu, start using WDM to fix this issue.
Thank you so much! Nice explanation. I have successfully run at first attempt.
Great…:)
Thank you so much! Your article really helped me a lot for my work! Again, thank you so much! God bless!
Hi Mark,
Thanks for your kind words. Frankly, you made my day…:)
Please feel free to ask your doubts and I’ll try my level best to clarify it.
I`ve started to use WebDriver with these instructions (https://www.brainbeast.best/faq-about-selenium-webdriver-on-c-sharp-with-examples/) which require driver exe file to be downloaded from chromedriver.chromium.org. But i don`t get how you`ve managed to dowload it from VS.
Hi Ernest,
Hope you have gone through my post
I would suggest to update the XPath since google seems to dynamically change element attributes:
IWebElement element = driver.FindElement(By.XPath(@”/html/body/div/div[3]/form/div[2]/div[1]/div[1]/div/div[2]/input”));
Hi Antonio,
Use dynamic XPath instead of absolute…
Hi Mukesh,
can you please share any your material for api automation?
Hi Bhavesh,
Please refer this playlist https://www.youtube.com/watch?v=aqrxDxumKZQ&list=PL6flErFppaj08LFolWioWyjfSGtCWcvVp for API tutorial videos
if i want to use same technology for angular js pages, what are the add on’s i need to do here?
Hi Sam,
For Angular js apps, Protractor with TypeScript is best to automate…
Hi Bro,
Same thing how to run on internetedge in Win10
Thanks
Hi Sai,
Please check this link https://social.msdn.microsoft.com/Forums/sqlserver/en-US/a6749b18-12c1-4d16-bdbc-35b21adb9e7d/seleniun-c-using-ms-edge-webdriver?forum=vstest
Thank you!
Thanks for sharing your knowledge,May God bless for your bright Future
Thanks for wishes, Syed…:)
Hi Mukesh,
Thanks for the learning sessions which you share. Very easy to understand and gives confidence.
Can you please share details on how to create a BDD Framework using selenium and C#
Thanks
Hi Renuka,
Thanks for your appreciation…:)
BTW may tutorials on C# are under pipeline.
Thanks for sharing your knowledge, I have successfully run at first attempt, one question is there any framework like TestNG?
Hi Imran,
TestNG is inspired(but enhanced) from JUnit. Mostly for automation, TestNG is preferred. In terms of Design Pattern, there are multiple approaches for it. Please refer this link https://www.journaldev.com/1827/java-design-patterns-example-tutorial.